Testing materials without destroying them is prerogative as ancient as science. The level of technology is the only difference between oldest examples of non invasive testing and the latest gear. While the means employed to determine the contents and properties of objects change, the principles remain the same.
Every bit of data on buried drainage pipes or conduit lines serves to save preventable damage to property. It saves time, resources and is more clean. Obviously the case against using test equipment to survey pipes is very thin.
There is one particular issue with sewage cameras though. They provide video footage of the pipe that is inspected, however sometimes pinpointing the exact location is not straightforward. This is where sondes come into play to provide as precise point as possible for solving an issue.
Radiodetection With a Sonde
The depth range of 15 meters is probably the most important reason radiodetection is used to trace spots of interest along drains and utility lines. They operate as a stand alone transmitter and can be easily inserted through pipes. This is where fine tuning begins.
Your decision to go for radiodetection sonde depends on the application you have in mind. Several aspects to keep in mind. Maybe you deem the range satisfactory, however the sonde should also be small enough and sturdy enough. The former would allow you to use small diameter sonde with jetting machines, while the latter will provide protection from the harsh environment.
The frequency at which your sonde targets objects for radiodetection needs to be compatible with that of the locator. It’s a straightforward and simple consideration, but has to be followed to the letter if you want to operate a sonde with success.
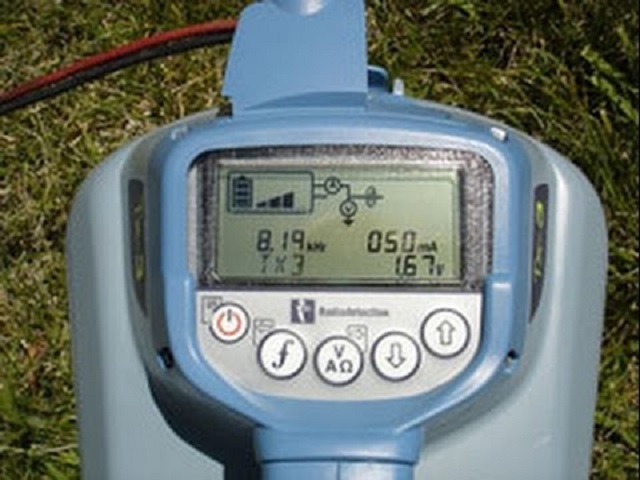
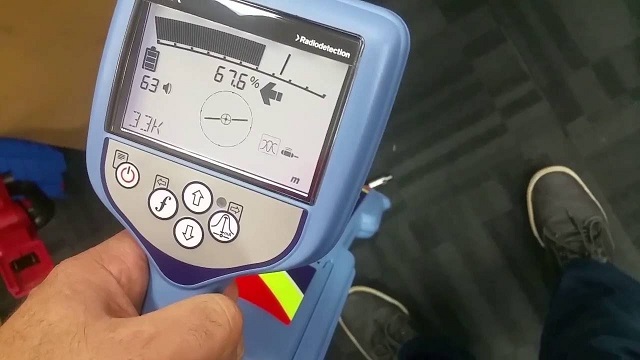
Let’s review the RD5100 locator sonde for example. This sonde is optimised for use along transmitting sondes which are usually placed within sewer cameras. It can find non metalic underground utility lines like plastic water pipes, ceramic and concrete pipes, and conduits. Array of frequencies (33kHz, 8kHz, 640Hz and 512Hz) make such versatile application possible. Drain cameras usually have a 512Hz sonde so they can be used through dense materials. This particular piece of radiodetection gear, the RD51000 locator, can be coupled with the signal from many different sondes.
Since technology is moving ahead, this radiodetection locator allows new frequencies to be added at a later date. It all comes down to the service location task at hand and the other gadgets you wish to tune it to. The technical specifications are superb for there are filters that block electric interference to provide more accurate readings. In essence, it’s all you need to have to obtain the depth and the position of the transmitter (attached to the camera). Ergonomically designed and with intuitive interface, RD5100 is one of the most typical examples of adjustable sonde.
Radiodetection Transmitter
Sometimes you can find the locator in a kit which also includes a transmitter. To cover as much ground as possible you can go for three stage amplifier. This refers to the sensitivity of the transmitter in regards to current impedance below the surface. You want to use as little power to get optimal performance in a balanced fashion. Data and metrics on the current are available through built in multimeter. And not just on current, but voltage, power and impedance too.
This item has to be well protected to do a proper job. This pertains to shock absorption and waterproof case above all. Units with IP54 and more are suitable for work in drainage pipes. These days the interface includes LCD screen that is easy to read.
How to Locate Using Radiodetection Set
Preparation includes making sure power banks are at an optimum. Inserting a new battery (or fully recharged) is recommended to have enough juice for the task. We already mentioned this, but operationally its the second step – double check the frequencies. Both the sonde and the receiver should be set to the same value for you to get readings.
Now, these sets are reliable once calibrated, but just to have confidence in the readings you should test the radiodetection range above ground before going under. If you don’t get the expected reading you can also test the range while the transmitter is in the drain but still visible. There is not much to it. You need to hold the blade of the sonde vertically over your transmitter. Readings at right angle are most accurate. But how does this translates to situations in which the transmitter is not within your field of view?
You’d have to employ signal analysis to come to reliable reading. This is easier than it sounds. When the sonde is at the centre of a radiation axis you get a peak reading. On either side you will get a ghost (or null) reading. You might need some time until you get the hang of it, but discovering a ghost reading followed by peak reading and ending with ghost reading confirms the position. If you are not getting this, for example if most of your readings catch ghost signals then you possibly need to tweak the sensitivity. Decreasing the sensitivity of the receiver should work. Moving up to four paces back and forth should clearly indicate the exact location.


No comments:
Post a Comment